
How Much to Remove Acrylic Nails? A Comprehensive Cost & Method Guide
Removing acrylic nails can seem daunting, especially when you’re unsure about the costs involved and the best methods to use. Whether you’re a seasoned nail enthusiast or a first-timer, understanding the financial aspect and the proper techniques is crucial for maintaining nail health and achieving the desired results. This comprehensive guide will delve into the various factors influencing the cost of acrylic nail removal, explore different removal methods, and provide expert tips to ensure a safe and effective process. We aim to provide you with a detailed understanding of how much to remove acrylic nails will cost, empowering you to make informed decisions and avoid potential damage to your natural nails. This guide is crafted with expertise, ensuring accuracy and trustworthiness in every piece of information.
Understanding the Costs Associated with Acrylic Nail Removal
The question of “how much to remove acrylic nails” isn’t a simple one. The cost can fluctuate based on several variables, including the location of the salon, the technician’s experience, the removal method used, and any additional services you might opt for. Let’s break down these factors to give you a clearer picture.
Salon Location and Reputation
Just like any service industry, geographical location plays a significant role in determining prices. Salons in metropolitan areas or upscale neighborhoods typically charge more than those in smaller towns or less affluent areas. Additionally, the reputation of the salon also influences pricing. Highly-rated salons with experienced technicians often command higher fees due to their expertise and quality of service. Think of it like this: a celebrity hairstylist will charge more than a local barber, and the same principle applies to nail technicians.
Technician’s Experience Level
The skill and experience of the nail technician are paramount. A seasoned technician with years of experience is more likely to charge a premium for their services. This is because they possess a deeper understanding of nail anatomy, product chemistry, and proper removal techniques. They are also better equipped to handle complications or unexpected issues that may arise during the removal process, minimizing the risk of damage to your natural nails. In our experience, paying slightly more for a skilled technician is a worthwhile investment for nail health.
Removal Method Used
There are several methods for removing acrylic nails, each with its own associated cost. The most common methods include:
* **Soaking in Acetone:** This is the most widely used method, involving soaking the nails in acetone until the acrylic softens and can be gently removed. The cost is generally lower compared to other methods.
* **Filing and Buffing:** This method involves carefully filing down the acrylic and buffing the remaining residue. It requires precision and skill to avoid damaging the natural nail. The cost can vary depending on the technician’s expertise and the time required.
* **Electric Filing:** This method uses an electric nail file to carefully remove the acrylic. It’s faster than manual filing but requires a steady hand and extensive training. Salons offering this service often charge a premium.
* **Using a Debonder:** This involves using a special solution designed to dissolve the adhesive bonds between the acrylic and the natural nail. It’s a gentle method, but not all salons offer it. It’s usually priced similarly to soaking in acetone.
The chosen method will significantly affect the final cost. Acetone soaking is usually the cheapest, while electric filing may be more expensive due to the equipment and expertise required.
Additional Services
Many salons offer additional services after acrylic nail removal, such as a manicure, nail strengthening treatments, or cuticle care. These services can add to the overall cost. Consider whether you need these additional services or if you prefer to handle them yourself at home.
* **Manicure:** A basic manicure typically includes shaping the nails, cuticle care, and applying nail polish.
* **Nail Strengthening Treatments:** These treatments are designed to strengthen and protect the natural nails after acrylic removal.
* **Cuticle Oil Application:** Applying cuticle oil helps to hydrate and nourish the cuticles, promoting healthy nail growth.
Average Cost Range
So, how much *does* it cost to remove acrylic nails? The average cost typically ranges from $10 to $30 per removal session. However, as mentioned earlier, this is just an estimate, and the actual cost can vary depending on the factors discussed above.
* **Lower End ($10-$15):** This price range is typically found in smaller salons or nail schools, where technicians may be less experienced.
* **Mid-Range ($15-$25):** This is the average price range for most salons, offering a balance between quality and cost.
* **Higher End ($25-$30+):** This price range is usually associated with high-end salons or experienced technicians who specialize in advanced removal techniques.
It’s always a good idea to call ahead and inquire about the cost of acrylic nail removal before booking an appointment. This will help you avoid any surprises and ensure that the price aligns with your budget.
DIY Acrylic Nail Removal: Costs and Considerations
For those looking to save money, removing acrylic nails at home is a viable option. However, it’s crucial to approach this task with caution and patience to avoid damaging your natural nails. While the initial cost is lower, there are still expenses to consider.
Essential Supplies and Their Costs
Removing acrylic nails at home requires a few essential supplies:
* **Acetone:** This is the primary solvent used to dissolve acrylic nails. A bottle of pure acetone typically costs between $5 and $10.
* **Cotton Balls or Pads:** These are used to soak the nails in acetone. A pack of cotton balls or pads costs around $2 to $5.
* **Aluminum Foil:** This is used to wrap the cotton balls around the nails, creating a sealed environment for the acetone to work effectively. A roll of aluminum foil costs approximately $3 to $7.
* **Nail File:** A nail file is used to gently file down the surface of the acrylic nails before soaking. A good quality nail file costs between $3 and $10.
* **Cuticle Pusher:** This is used to gently push back the softened acrylic after soaking. A cuticle pusher costs around $2 to $5.
* **Buffing Block:** This is used to smooth out the surface of the natural nails after removing the acrylic. A buffing block costs approximately $3 to $7.
* **Cuticle Oil:** This is used to hydrate and nourish the cuticles after the removal process. Cuticle oil costs between $5 and $15.
Therefore, the total cost of essential supplies for DIY acrylic nail removal ranges from approximately $23 to $59. This is a one-time investment that can be used for multiple removal sessions, making it a cost-effective option in the long run.
Time Investment
While DIY removal saves money, it requires a significant time investment. The entire process can take anywhere from 30 minutes to an hour, depending on the thickness of the acrylic and your level of experience. It’s essential to set aside enough time and avoid rushing the process to prevent damage to your natural nails.
Risk of Damage
The biggest risk associated with DIY acrylic nail removal is the potential for damaging your natural nails. Improper techniques, such as aggressively filing or peeling off the acrylic, can weaken the nails, leading to thinning, brittleness, and even infection. It’s crucial to follow proper removal techniques and exercise caution to minimize the risk of damage. If you’re unsure about any step, it’s always best to consult a professional.
Potential Hidden Costs
While DIY removal appears cheaper upfront, there can be potential hidden costs. If you damage your natural nails during the process, you may need to invest in nail strengthening treatments or consult a dermatologist, which can add to the overall cost. In our experience, prevention is always better than cure, so it’s worth investing in proper tools and techniques.
Expert-Recommended Methods for Acrylic Nail Removal
Whether you choose to visit a salon or remove acrylic nails at home, it’s essential to use proper techniques to minimize the risk of damage. Here are some expert-recommended methods for acrylic nail removal:
The Acetone Soak Method (Salon and DIY)
This is the most common and widely recommended method for acrylic nail removal. It involves soaking the nails in acetone until the acrylic softens and can be gently removed.
* **Preparation:** Gently file down the surface of the acrylic nails to break the seal. This allows the acetone to penetrate more effectively.
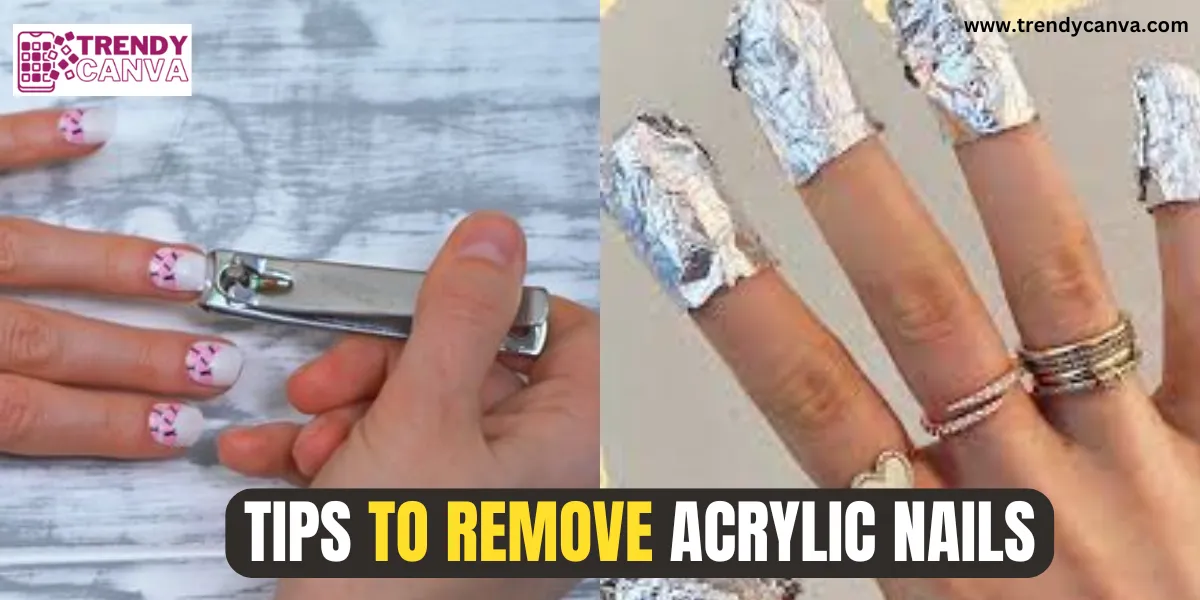
* **Soaking:** Soak cotton balls in pure acetone and place them on top of each nail. Wrap each nail with aluminum foil to secure the cotton ball and create a sealed environment.
* **Waiting:** Allow the nails to soak for 15-20 minutes. Check the nails periodically to see if the acrylic has softened. If not, continue soaking for another 5-10 minutes.
* **Removal:** Once the acrylic has softened, gently push it back with a cuticle pusher. Avoid forcing or peeling off the acrylic, as this can damage the natural nail.
* **Finishing:** Buff the surface of the natural nails to smooth out any remaining residue. Apply cuticle oil to hydrate and nourish the cuticles.
The Electric Filing Method (Salon Only)
This method uses an electric nail file to carefully remove the acrylic. It’s faster than manual filing but requires a steady hand and extensive training. This method should only be performed by a trained professional.
* **Preparation:** The technician will assess the condition of your nails and choose the appropriate file bit for the removal process.
* **Filing:** The technician will carefully file down the acrylic, starting from the free edge and working towards the cuticle. They will use a light touch and avoid applying too much pressure to prevent damage to the natural nail.
* **Finishing:** Once the acrylic has been removed, the technician will buff the surface of the natural nails to smooth out any remaining residue. They will then apply cuticle oil to hydrate and nourish the cuticles.
The Debonder Method (Salon and DIY)
This method involves using a special solution designed to dissolve the adhesive bonds between the acrylic and the natural nail. It’s a gentle method, but not all salons offer it.
* **Preparation:** Gently file down the surface of the acrylic nails to break the seal. This allows the debonder to penetrate more effectively.
* **Application:** Apply the debonder solution to the edge where the acrylic meets the natural nail.
* **Waiting:** Allow the debonder to work for the time specified on the product instructions (usually a few minutes).
* **Removal:** Gently lift the acrylic from the natural nail. If it doesn’t lift easily, apply more debonder and wait a little longer. Avoid forcing or peeling off the acrylic.
* **Finishing:** Buff the surface of the natural nails to smooth out any remaining residue. Apply cuticle oil to hydrate and nourish the cuticles.
Avoiding Common Mistakes During Acrylic Nail Removal
Regardless of the method you choose, avoiding common mistakes is crucial to prevent damage to your natural nails. Here are some common pitfalls to avoid:
* **Peeling Off the Acrylic:** This is one of the biggest mistakes you can make. Peeling off the acrylic can tear off layers of the natural nail, leading to thinning, brittleness, and pain.
* **Aggressively Filing:** Filing too aggressively can damage the natural nail and cause it to become thin and weak. Use a light touch and avoid applying too much pressure.
* **Using Sharp Objects:** Avoid using sharp objects, such as knives or scissors, to remove the acrylic. These objects can easily damage the natural nail and cause injury.
* **Rushing the Process:** Rushing the removal process can lead to mistakes and increase the risk of damage. Set aside enough time and be patient.
* **Ignoring Nail Health:** After removing acrylic nails, it’s essential to focus on restoring the health of your natural nails. Use nail strengthening treatments and cuticle oil to promote healthy growth.
Long-Term Nail Care After Acrylic Removal
Removing acrylic nails can leave your natural nails feeling weak and brittle. It’s essential to implement a long-term nail care routine to restore their health and strength. Here are some tips for long-term nail care after acrylic removal:
* **Use Nail Strengthening Treatments:** Apply nail strengthening treatments regularly to help rebuild the nail structure and prevent breakage.
* **Moisturize Regularly:** Keep your nails and cuticles moisturized by applying cuticle oil several times a day. This will help to prevent dryness and cracking.
* **Avoid Harsh Chemicals:** Limit your exposure to harsh chemicals, such as household cleaners and detergents, as they can dry out and damage your nails.
* **Wear Gloves:** Wear gloves when doing housework or gardening to protect your nails from damage.
* **Maintain a Healthy Diet:** A healthy diet rich in vitamins and minerals is essential for healthy nail growth. Include foods rich in biotin, such as eggs, nuts, and seeds, in your diet.
* **Consider Taking Supplements:** If you have weak or brittle nails, consider taking a biotin supplement. Biotin is a B vitamin that is essential for healthy nail growth.
* **Give Your Nails a Break:** Avoid applying acrylic nails or other artificial enhancements for a few months to allow your natural nails to recover.
Q&A: Your Burning Questions About Acrylic Nail Removal Answered
Here are some frequently asked questions about acrylic nail removal, along with expert answers to address your concerns:
1. How often can I get acrylic nails without damaging my natural nails?
Ideally, give your nails a break of at least a few weeks to a month between sets of acrylics. Continuous application without breaks can lead to thinning and weakening of the natural nail plate.
2. Can I use nail polish remover instead of acetone to remove acrylic nails?
While some nail polish removers contain acetone, they are typically not as effective as pure acetone for dissolving acrylic nails. Using nail polish remover may require a longer soaking time and may not completely remove the acrylic.
3. What are the signs of nail damage after acrylic removal?
Signs of nail damage include thinning, brittleness, discoloration, ridges, and separation of the nail from the nail bed (onycholysis). If you notice any of these signs, consult a dermatologist or nail technician.
4. Is it safe to remove acrylic nails during pregnancy?
While there is no definitive evidence that acetone is harmful during pregnancy, it’s always best to err on the side of caution. Consider alternative removal methods, such as filing, or consult your doctor before removing acrylic nails during pregnancy.
5. How can I prevent fungal infections after acrylic removal?
To prevent fungal infections, ensure that your nails are clean and dry after removal. Avoid prolonged exposure to water and moisture. If you notice any signs of infection, such as discoloration or thickening of the nail, consult a doctor.
6. Can I reapply acrylic nails immediately after removal?
It’s generally not recommended to reapply acrylic nails immediately after removal. Give your natural nails time to recover and strengthen before reapplying any artificial enhancements.
7. What’s the best way to strengthen my nails after acrylic removal?
Use nail strengthening treatments, moisturize regularly with cuticle oil, and maintain a healthy diet rich in vitamins and minerals to strengthen your nails after acrylic removal.
8. Are there any alternatives to acrylic nails that are less damaging?
Yes, alternatives such as gel nails and dip powder nails are generally considered less damaging than acrylic nails. They are thinner and more flexible, which reduces the risk of damage to the natural nail.
9. How can I tell if a salon is using safe and hygienic practices for acrylic removal?
Look for salons that use sterilized tools, disposable files, and fresh acetone for each client. The salon should also be clean and well-ventilated.
10. What should I do if my nails are extremely sensitive after acrylic removal?
If your nails are extremely sensitive, avoid using harsh chemicals or applying pressure to them. Apply a soothing balm or oil to the nails and cuticles to relieve discomfort. If the sensitivity persists, consult a dermatologist.
Conclusion: Empowering You with Knowledge About Acrylic Nail Removal Costs and Methods
Understanding the costs associated with acrylic nail removal and the proper techniques is essential for maintaining healthy and beautiful nails. Whether you choose to visit a salon or remove acrylic nails at home, it’s crucial to prioritize the health of your natural nails and avoid common mistakes. By following the expert-recommended methods and implementing a long-term nail care routine, you can ensure that your nails remain strong and healthy, even after acrylic removal.
We’ve delved deep into the nuances of acrylic nail removal, aiming to provide you with the most comprehensive and trustworthy guide available. From exploring the various cost factors to outlining expert-recommended methods and answering your burning questions, we’ve covered it all. Now, armed with this knowledge, you can confidently make informed decisions and take control of your nail health.
Share your experiences with acrylic nail removal in the comments below! We’d love to hear your tips, questions, and concerns. Your insights can help others navigate the process with greater confidence and achieve the best possible results.
